> ## Documentation Index
> Fetch the complete documentation index at: https://docs.useflytrap.com/llms.txt
> Use this file to discover all available pages before exploring further.
# Use Flytrap with Next.js
> Use Flytrap to catch & replay both front-end & back-end bugs in Next.js
## Installing
Install the `useflytrap` package to your Next.js project.
```bash npm theme={null}
npm install useflytrap
```
```bash yarn theme={null}
yarn add useflytrap
```
```bash pnpm theme={null}
pnpm install useflytrap
```
## Add Flytrap code transform
Add the Flytrap code transform to your Next.js configuration, so that all your code gets properly processed for replaying.
```typescript next.config.mjs theme={null}
const { FlytrapTransformPlugin } = require('useflytrap/transform')
/** @type {import("next").NextConfig} */
const config = {
reactStrictMode: true,
webpack(config) {
config.plugins = config.plugins ?? []
// only add in production
if (process.env.NODE_ENV === 'production') {
config.plugins.push(FlytrapTransformPlugin.webpack())
}
return config
},
}
module.exports = config
```
In Next.js, your Flytrap config might get cached, so you need to delete the `.next` folder after changing the Flytrap config for the changes to be applied.
#### Add Next.js specific `packageIgnores`
Next.js's internal code transform expects things such as font imports to be in the top level, without any kind of modifications. Due to this, we ignore the `next/font` package in our Flytrap configuration file:
```typescript flytrap.config.ts theme={null}
import { defineFlytrapConfig } from 'useflytrap'
export default defineFlytrapConfig({
// ... the rest of your config
packageIgnores: ['next/font'] // 👈 ignores transformation of next/font package
})
```
## Catch your first bug
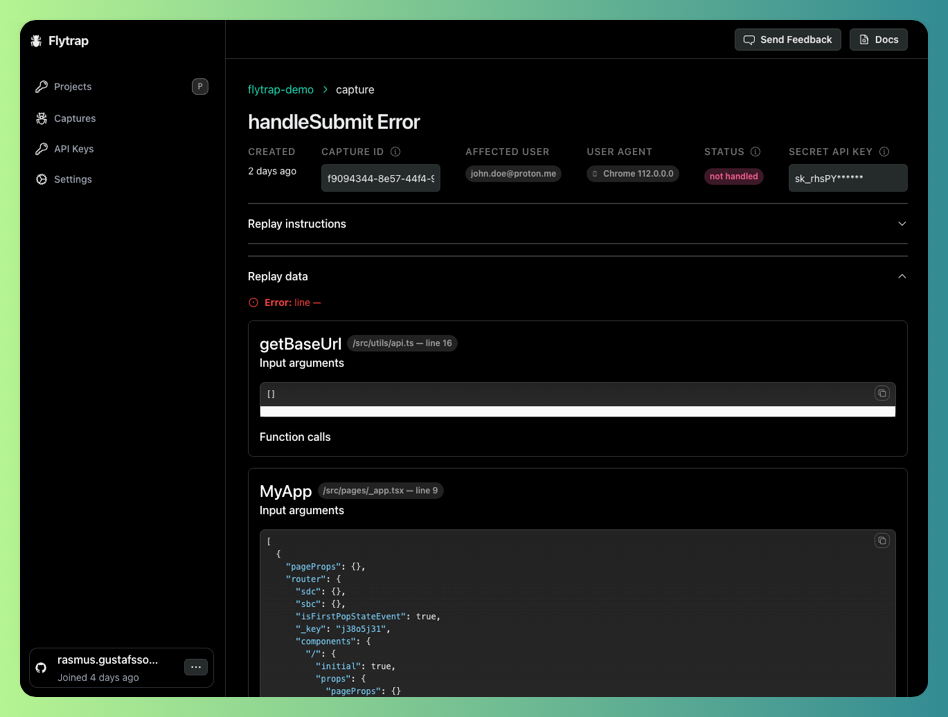
Now your app will be enabled with Flytrap. You can test out the setup by throwing an error in your development environment.
 ## Example
}
href="https://github.com/useflytrap/flytrap-js/tree/main/examples/with-nextjs-api"
>
See how you can use Flytrap with NextJS
## Example
}
href="https://github.com/useflytrap/flytrap-js/tree/main/examples/with-nextjs-api"
>
See how you can use Flytrap with NextJS